Mastering the Art of Custom 3D Printing
Custom 3D printing isn’t just about hitting “slice” and hoping for the best—it’s about transforming ideas into beautifully crafted, one-of-a-kind objects. Whether you’re designing bespoke parts, personal accessories, or functional prototypes, mastering customization opens the door to truly limitless creativity. Here’s how to take your skills from basic printing to full-on digital craftsmanship.
1. Start With Purpose—What Problem Are You Solving?
Every great custom print begins with a clear goal. Are you improving something? Replacing something? Making something unique? Defining the purpose early helps shape better models and smoother printing later on.
2. Learn the Foundations of CAD (You Don’t Need to Be an Engineer!)
Tools like Fusion 360, Tinkercad, and Onshape make it easy to design your own models—from simple hooks to complex mechanical assemblies. Start small: tweak existing designs, modify dimensions, or combine parts.
3. Customize Existing STL Files
You don’t always need to start from zero. Sites like Printables, Thingiverse, and Cults3D let you download models and adapt them using software like Meshmixer, Blender, or PrusaSlicer’s built-in tools.
4. Dimensioning Is Everything
If you’re printing custom-fit items—phone mounts, brackets, organizers—precision matters.
A few quick tips:
- Always measure twice (calipers are your best friend).
- Account for printer tolerances (typically 0.2–0.4 mm).
- Test print small sections before committing to the full model.
5. Choose the Right Filament for Your Needs
Custom prints often require specific properties:
- PLA for aesthetics and fast prototyping
- PETG for durable household parts
- ABS for high-heat environments
- TPU for flexible custom fits
- Nylon for strength and wear resistance
6. Lean Into Multi-Material and Colour Customization
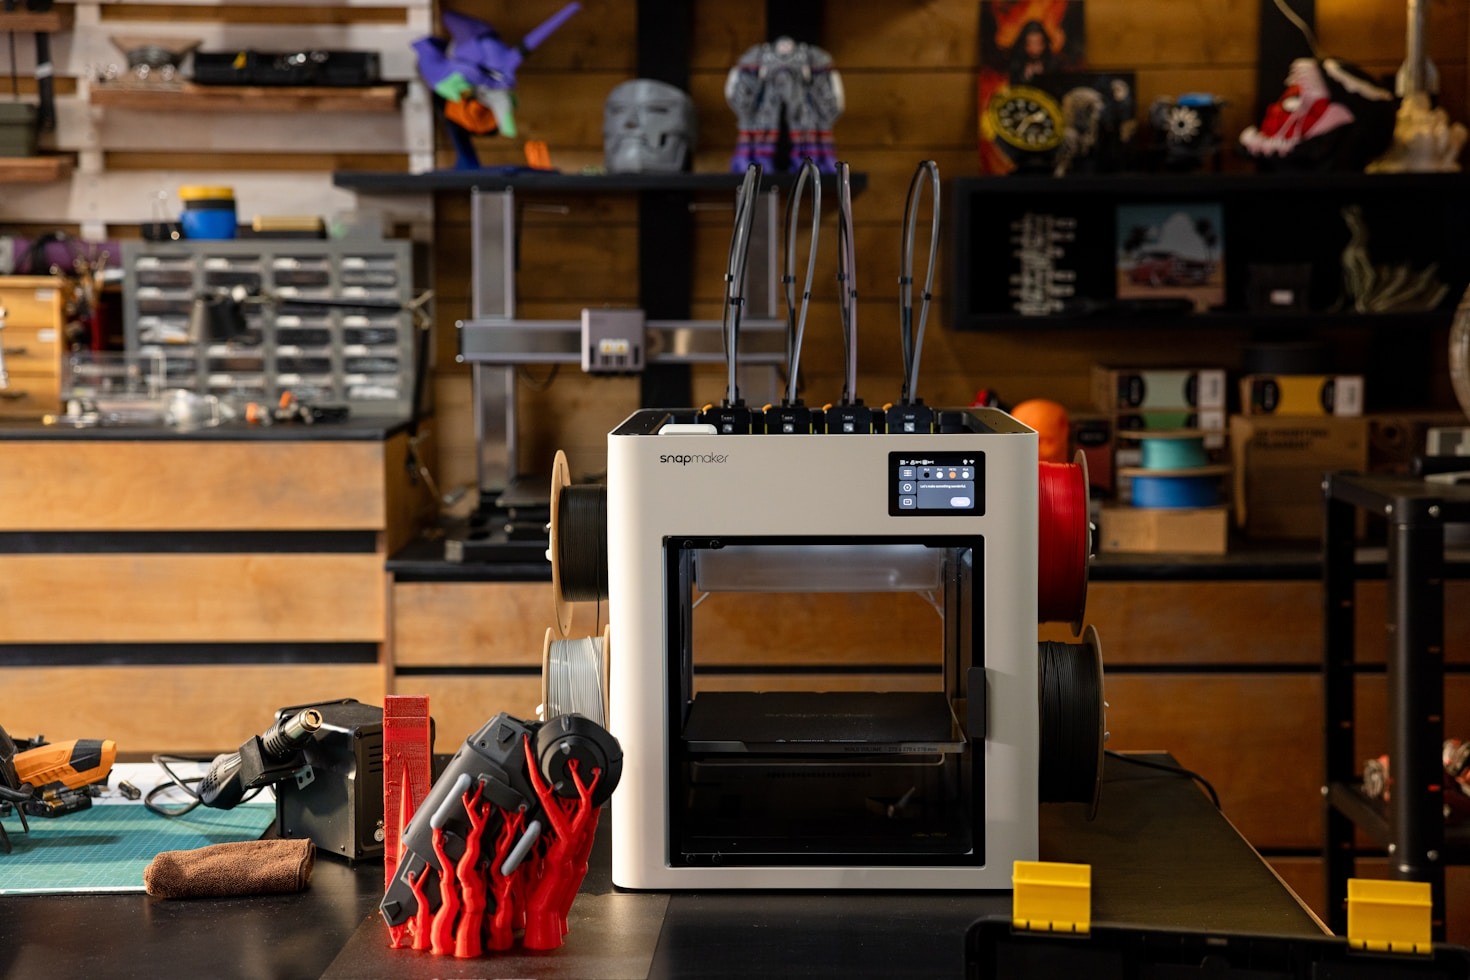
Printers like the Bambu Lab X1/P1 series or Prusa MK4 + MMU3 offer multi-material capabilities.
Blend colours, add text labels, or create parts with built-in supports—your creativity becomes the limit.
7. Iterate, Test, Improve
Custom printing shines in rapid iteration. Don’t be afraid to:
- Print thin prototypes
- Adjust hole sizes
- Reinforce stress points
- Test assemblies early
Every tweak gets you closer to your ideal print.
8. Finish Like a Pro
Customization doesn’t stop at the print bed. Sanding, painting, smoothing, and even using inserts (heat-set or threaded) elevate your final piece into something that looks truly professional.
Final Thoughts
Mastering custom 3D printing is a journey of experimentation. The more you design, test, and refine, the more intuitive it becomes. Embrace the process—your prints will become cleaner, smarter, and undeniably more “you.”